Quick start
Let's set up your page in no time!
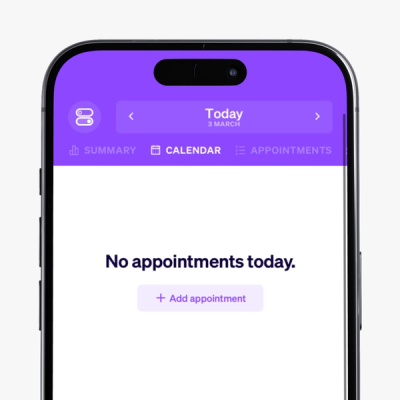
Welcome to your dashboard
After creating your page, you will be taken to your dashboard. This is where your appointments come in.
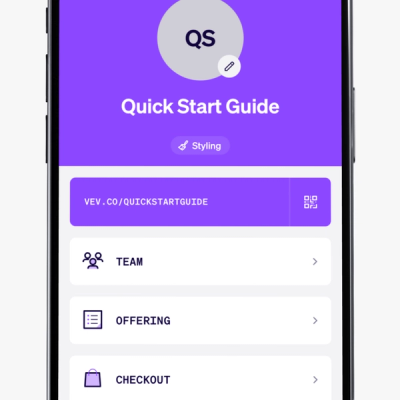
All settings at a glance
But first let's go to Settings (top left). Here you will find everything you need to run your business. Let's start by adjusting your offering and your business hours, so you're ready for your first appointment.
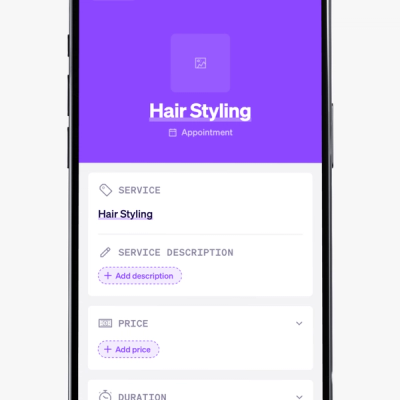
1. Customise your offering
Go to Settings > Offering to change or delete your current offering. Add new item? Enter a title, price, and duration. Optionally add a photo, description, or more options.
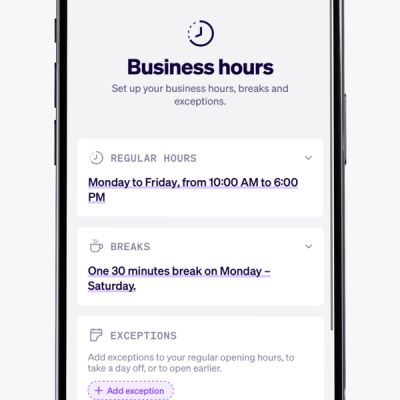
2. Set up your business hours
Go to business hours and set when you are open. You are now ready for your first appointment, because Vev looks at the duration of your service and your opening hours so that your customer can book an appointment themselves 📅✨. Learn more about business hours, breaks and exceptions to your opening hours.
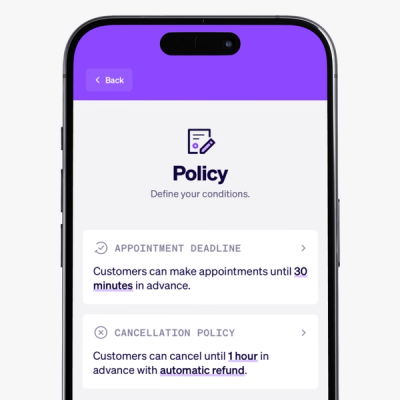
3. Planning and policy
Go to Planning and Policy to set how flexible customers can book, up to when they can make an appointment and cancel. Read more about time selector, booking horizon, custom policy (Pro), appointment deadline and cancelation policy.
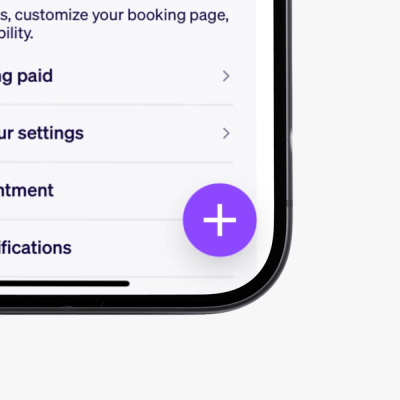
4. Add your own appointments
You can also add appointments yourself on your dashboard. At the bottom right you will find a + icon. You make an appointment by adding a service and the customer details.
Ready to start?
Use these tips to make the most out of Vev and get started quickly. If you haven't created your own Vev link yet, click here to kickstart your business.